Steps in Torii
Create an API Key
-
Log in to Torii as an admin.
-
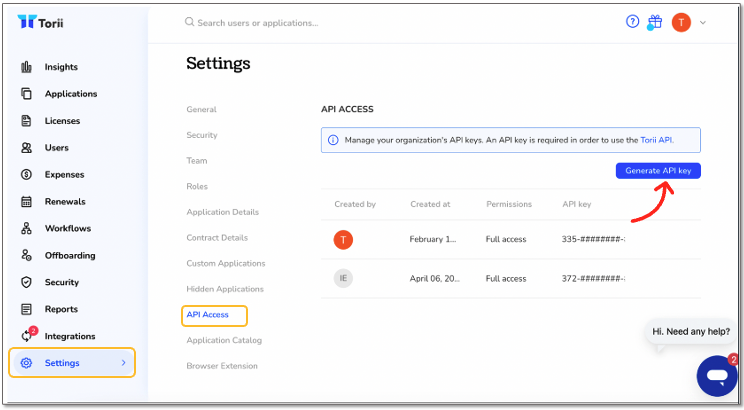
Go to Settings > API Access, then click Generate API Key.
-
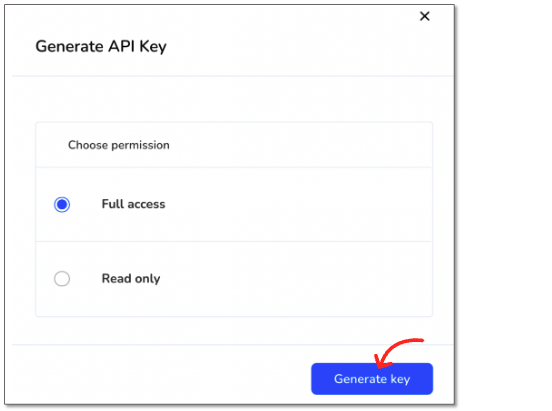
Select Full Access (default), then click Generate key.
-
Save the key in a password manager/secrets vault since Torii will not display it again.
Create an Application Account ID
-
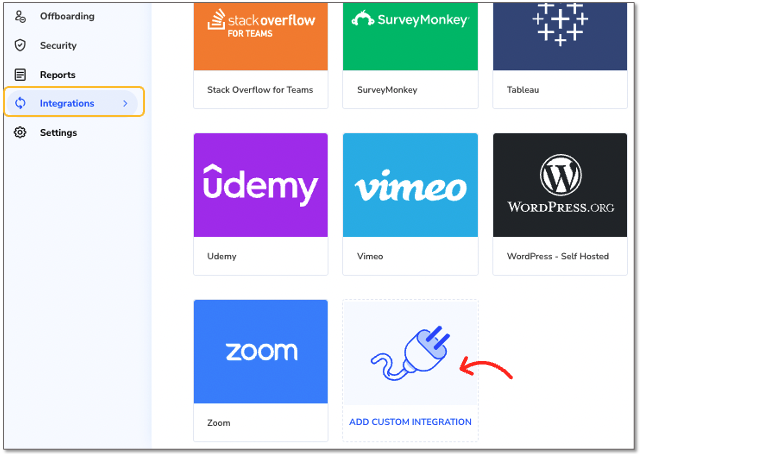
In Torii, go to Integrations.
-
Find Add Custom Integration (search or scroll to the bottom of the list), then click the tile.
-
You can connect your custom integration to an app already in Torii’s catalog or create a new one. Note that you can select an app that you haven’t integrated OR one that’s already connected via native integration.
-
Click Add Integration.
-
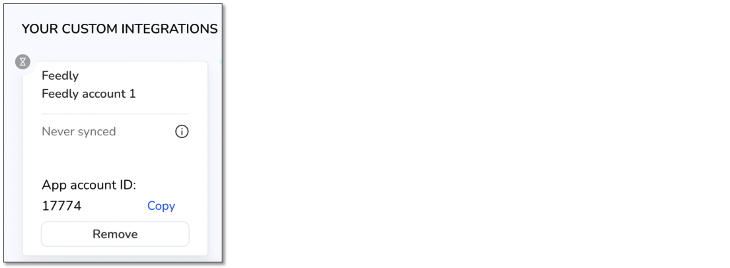
Torii will show you the unique Application Account ID for your new custom integration. Unlike an API key, you can retrieve (and copy) this Application Account ID at any time from the Integrations page by hovering over your custom integration’s tile.
Steps in Postman
Get File Upload Parameters from Torii’s API
-
Select GET from the HTTP method dropdown and enter https://api.toriihq.com/v1.0/files/url?name=my_file.json&type=customIntegrationData as the URL.

Note: you can change the filename in the path from my_file.json to whatever you’d prefer. Alternatively, you can use https://api.toriihq.com/v1.0/files/url as the URL and specify a name and type under “Params”: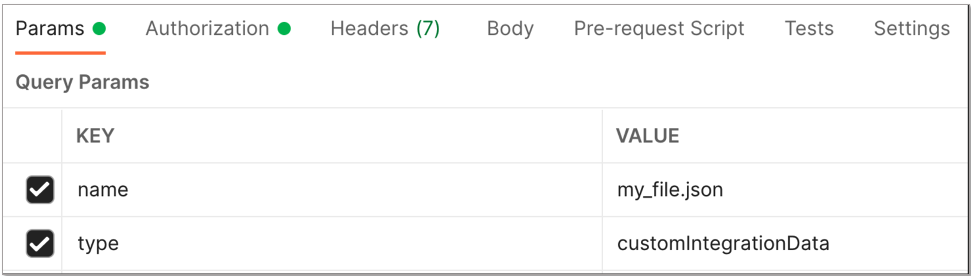
-
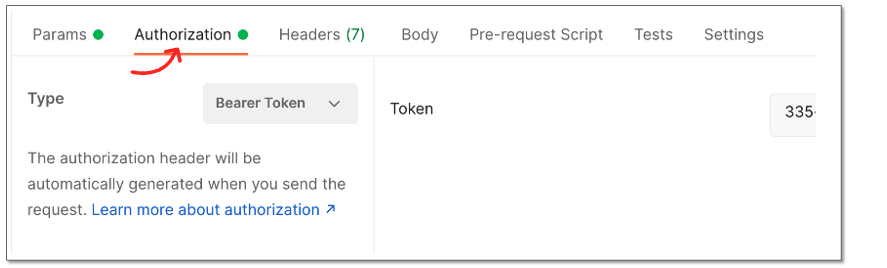
In the “Authorization” tab, select Bearer Token and then paste your Torii API Key in the “Token” field.
-
Click Send.
-
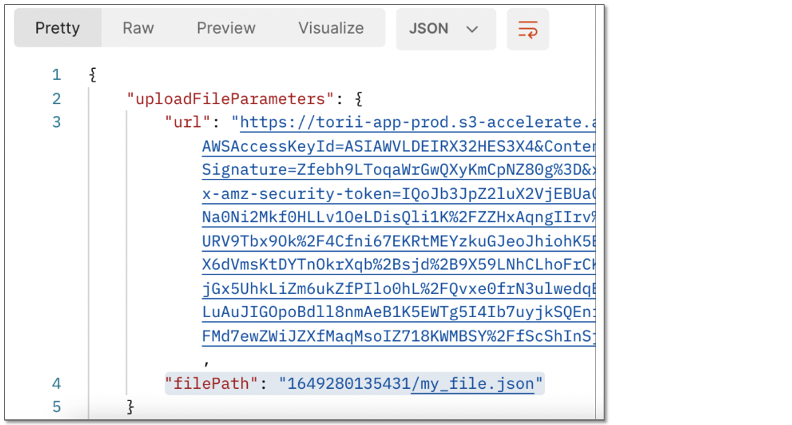
The response body will return key-value pairs for “url” and “filePath.” Both will be used in subsequent steps.
Upload a JSON File
- Create or export a JSON users file that matches the schema and example file in our API documentation.
- Open a new Postman tab, select PUT from the HTTP method dropdown, and enter the URL returned from the previous GET command.
- Click the “Body” tab, select raw, and paste your JSON users file. Make sure to select JSON from the data type dropdown.

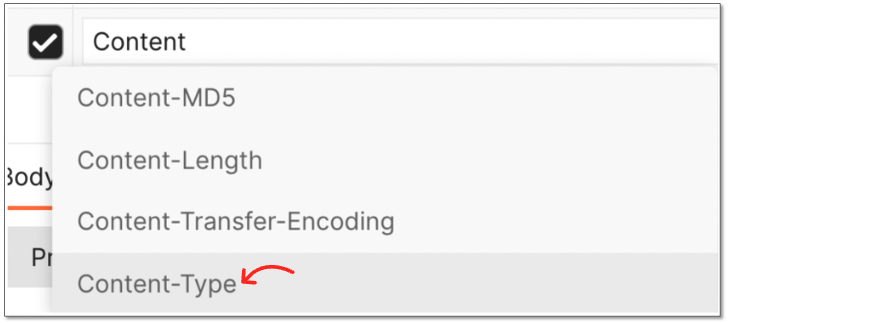
- Click the “Headers” tab and find the “Content-Type” key. It will have a default value of application/json. Uncheck the box to disable the header.

- Find a blank header “Key” cell at the bottom of the list and start typing “Content” to find Content-Type. Select it from the dropdown, then enter customIntegrationData in the corresponding “Value” cell.
- Your final list of parameters (”Params”) should look like this

- Click Send to upload your JSON file to Torii.
Get Your File ID
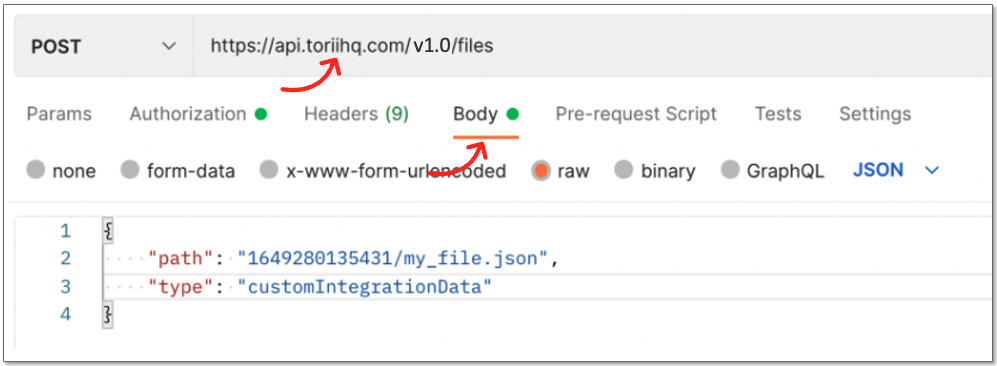
- Open a new Postman tab, select POST from the HTTP method dropdown, and enter the URL https://api.toriihq.com/v1.0/files.
- Add your API Key to the “Authorization” tab as you did previously.
- In the “Body” tab, enter two key-value pairs in raw JSON format: path (the value returned as “filePath” above) and type (”customIntegrationData”). It should look like this:
- Click Send.
- The response will return an “id” value that you’ll need in the next step.

Sync Your Integration
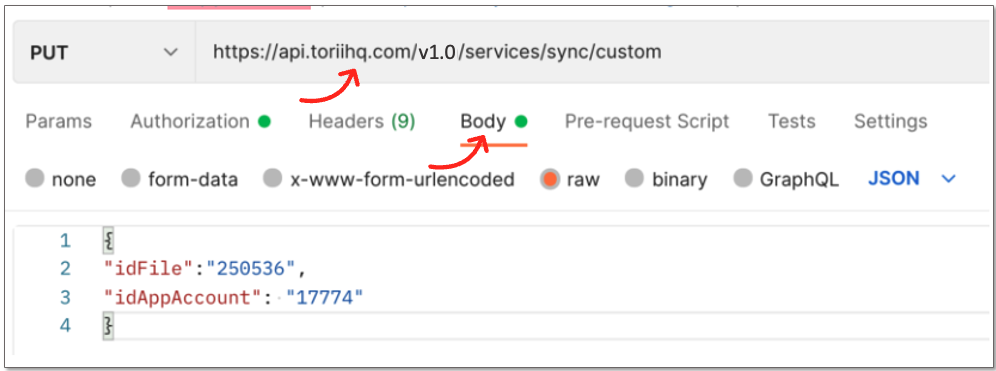
- Open a new Postman tab, select PUT from the HTTP method dropdown, and enter the URL https://api.toriihq.com/v1.0/services/sync/custom.
- Add your API Key to the “Authorization” tab as you did previously.
- In the “Body” tab, enter two key-value pairs in raw JSON format: idFile (the value returned as “id” above) and idAppAccount (the unique ID of your custom integration). It should look like this:
- Click Send.
- Return to Torii and verify your file upload by checking the app’s “Users” tab ({Your App} > Users) and (if applicable) the license costs in Licenses.